Creating a DIY Voice Assistant: First Steps
I’ve been wanting to replace my Google and Amazon devices with a DIY voice assistant for a while. Now that I’ve got something working, I’d like to share how I did it.
First, some background
I don’t actually make very heavy use of my Google Nest Mini, but it’s extremely helpful when my hands are busy or I don’t have enough time to grab a pen without distracting myself from what I’m already doing.
In practice, I use my Google Nest Mini to:
- Set kitchen timers while I’m cooking
- Add things to my shopping list, again generally while I’m cooking
- Quickly add tasks to my to-do list
- Quickly add reminders to my to-do list
- Control my Sonos speaker
I would like my DIY voice assistant to be able to do all of these things. I’ll define tasks as to-do list items that have no associated due dates or notifications. Reminders on the other hand will be to-do list items that do have due dates and generate reminder notifications. Everything else is hopefully self-explanatory.
I use Todoist as my to-do list application. Sadly, integration with Google and Amazon products ended a long time ago. All the more reason to come up with my own solution!
In addition to integrating with Todoist, I wanted something that I could run locally and that would respect my privacy. I also wanted to be able to change things I didn’t like and add more features as I needed them. Lastly, I wanted a fun project to work on.
Home Assistant
Home Assistant (HA) is a popular open-source home automation platform that lets you control and automate smart devices from a single place. It runs locally (on your own hardware), giving you full privacy, flexibility, and control without relying on cloud services.
And it supports voice control.
As I will be integrating with Todoist, I will in fact be sharing some data with one specific cloud service, but I will be doing this intentionally and by choice.
You can install and configure Home Assistant to control your smart devices and run various tasks in response to various cues. Then, you can set up a voice assistant to listen to and process your cues.
Running Home Assistant
There are effectively three recommended ways to run Home Assistant:
- Install Home Assistant OS (HAOS) on a spare computer or a Raspberry Pi
- Install Home Assistant OS on a virtual machine using something like VirtualBox
- Run Home Assistant (not the full OS!) in a container using Docker or Docker Compose
If you have a spare computer around, the simplest way to get a voice assistant pipeline going is probably to:
- Install HAOS on to your hardware
- Install the various components of the voice assist pipeline as HAOS add-ons
Using the above methods everything should be simple and you can probably skim the rest of this post.
The slightly more complicated, but more flexible approach
Caveat: I am running the following on Linux and using Docker Engine. Home Assistant might not function properly running on Docker Desktop. I don’t know.
I don’t have any spare hardware available at the moment and virtual machines run too slow for my taste. I’ll be going with the third option and running HA in a container. If you too will be running HA in a container, you won’t have the ability to install HA add-ons and you’ll need to get a little bit more hands-on.
I’ll show you how.
Official installation instructions are here, but here’s a quick summary:
- Create a new folder where Home Assistant will live
- Create the file
compose.yamlin the above folder - Edit
compose.yamlto contain the following:
services:
  homeassistant:
    container_name: homeassistant
    image: "ghcr.io/home-assistant/home-assistant:stable"
    volumes:
      - ./config:/config
      - /etc/localtime:/etc/localtime:ro
      - /run/dbus:/run/dbus:ro
    restart: unless-stopped
    network_mode: host
- In the directory containing
compose.yaml, run the commanddocker compose up
No matter what you might hear, you should not need to run the container in privledged mode. And frankly, you probably shouldn’t be giving anything elevated privledges that aren’t required.
- Open http://localhost:8123 and you should be all set.
If you’re not sure where to start, take a look at the official onboarding documentation.
Then, some more background
As I’ve said I won’t be able to use add-ons so I’ll have to blaze my own path. It’s not that bad.
A smart voice assistant consists of multiple distinct services. You’ll need:
- A “wake word” service that can listen to an audio stream and determine whether what it is hearing is (A) the wake word or (B) not the wake word. Yes, this is basically “Hotdog or Not Hotdog”.
- A speech to text service that can understand what you are saying and transcribe it to text.
- Some “brains” to understand what your cue actually means and what should be done in response
- A text to speech service that can speak the brain’s text response back to you
I’m counting three AI models so get your RAM out. I’m running things quite well with about 3 GB available memory, an 8 year old Intel i7 and without a dedicated GPU.
You’ll also need a mic and a speaker connected to a system running a service that allows for audio streaming. Home assistant calls this piece of hardware a satellite and so will I.
The good news is that, as well as I understand, all of the voice assistant related Home Assistant add-ons are actually adaptations of various services from the also-well-worth-looking-into Rhasspy project. You can download the services you need and just run them right on your workstation. If you download the Wyoming protocol compatible versions (and you should) Home Assistant will automatically detect all of the running services and from there it’s just a few clicks.
Some of these services require some half-decent hardware to run efficiently. Being able to run them anywhere you want (not just on the same hardware as Home Assistant) is a pretty good deal.
Actually doing it
To review, our end goal is a computer equiped with a microphone and speakers that has the following running:
- A “satellite” service (wyoming-satellite)
- A wakeword detector (OpenWakeWord)
- A Speech-to-Text service (Whisper)
- A “brain” (Home Assistant)
- A Text-to-Speech service (Piper)
Since your computer has a microphone and speakers, it will function not just as the voice assistant service, but also as it’s own satellite.
You already have Home Assistant running in a container if you followed the above steps. Let’s take care of the rest.
Here are the GitHub repositories:
I recommend creating a new assist-pipeline directory and cloning the above four repositories into it.
If you follow my commands, some of the above four services will also be writing data into the assist-pipeline
directory, so don’t be too surprised when you see some new directories show up.
Running the services
The details are in the respective READMEs of the above repositories, but here’s a quick start:
Piper
Install / Setup
# From directory `assist-pipeline`
git clone https://github.com/rhasspy/wyoming-piper.git

cd wyoming-piper
script/setup

curl -L -s "https://github.com/rhasspy/piper/releases/download/v1.2.0/piper_amd64.tar.gz" | tar -zxvf - -C ..
Run
script/run --piper '../piper/piper' --voice en_US-lessac-medium --uri 'tcp://0.0.0.0:10200' --data-dir ../piper-data --download-dir ../piper-data --noise-scale 0.667 --length-scale 1.0 --noise-w 0.333 --update-voices --streaming
Whisper
Install / Setup
# From directory `assist-pipeline`
git clone https://github.com/rhasspy/wyoming-faster-whisper.git
cd wyoming-faster-whisper
script/setup
Run
script/run --model small --language en --uri 'tcp://0.0.0.0:10300' --data-dir ../wyoming-faster-whisper-data --download-dir ../wyoming-faster-whisper-data
Note: Change the model to a larger model for better accuracy or a smaller model for better speed.
OpenWakeWord
Install / Setup
# From directory `assist-pipeline`
git clone https://github.com/rhasspy/wyoming-openwakeword.git
cd wyoming-openwakeword
script/setup
Run
script/run --uri 'tcp://0.0.0.0:10400' --preload-model 'hey_rhasspy'
Note: If script/setup fails, try using Python 3.9.19
Satellite
Install / Setup
# From directory `assist-pipeline`
git clone https://github.com/rhasspy/wyoming-satellite.git
cd wyoming-satellite
script/setup
.venv/bin/pip3 install 'webrtc-noise-gain==1.2.3'
Run
script/run --name 'my satellite' --uri 'tcp://0.0.0.0:10700' --mic-command 'arecord -r 16000 -c 1 -f S16_LE -t raw' --snd-command 'aplay -r 22050 -c 1 -f S16_LE -t raw' --wake-uri 'tcp://127.0.0.1:10400' --wake-word-name 'hey_rhasspy' --done-wav sounds/done.wav --timer-finished-wav sounds/timer_finished.wav --timer-finished-wav-repeat 8 0 --mic-auto-gain 5 --mic-noise-suppression 2 --mic-no-mute-during-awake-wav
Note: If you’re getting errors see the official README. You may need to install a dependency such as package alsa-utils.
Putting it all together
- Restart HA (stop and start the container)
- Open HA in your browser
- Click Settings on the left
- Click Devices & Services
- For each of the four services, click Add Integration in the bottom right
- Add the service by host and port number
- Return to Settings
- Click Voice Assistants
- Under Assist, click Home Assistant to configure settings
- Set Speech-to-text to faster-whisper
- Set Text-to-speech to piper
- Click Update in the bottom right
In regards to step 6, the host should be 127.0.0.1 and if you used my commands the respective ports are 10200, 10300, 10400 and 10700.
Trying it out
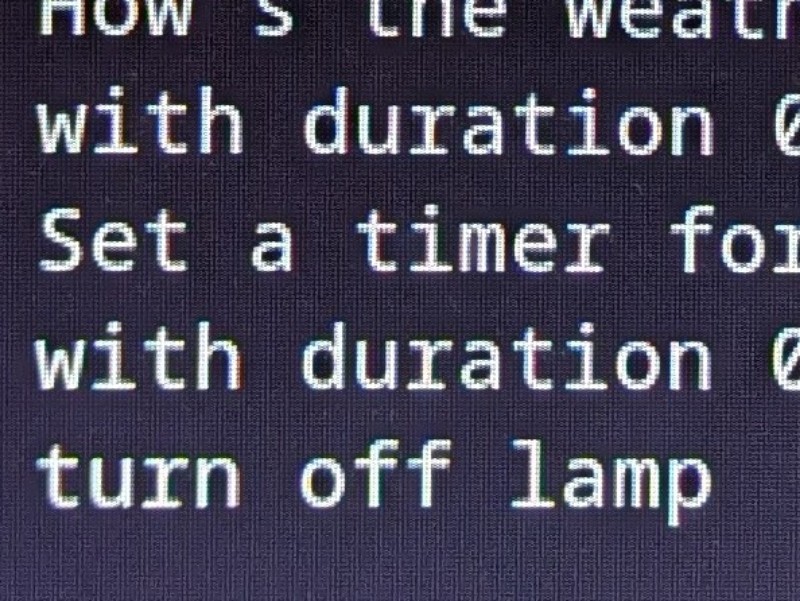
You should now be ready to go! Try this:
- Say “Hey Rhasspy”
- Wait about a half second
- Say “What time is it?”
If you hear a chime and your assistant responds with the time, it’s working!
Next steps
- Take a closer look at the official README files for all of the Rhasspy related repositories for customization options.
- Likewise, take a closer look at the Voice Assistants configuration dialog and find a voice you like.
Up next
In a future post, I’ll be explaining how to integrate HA with Todoist.